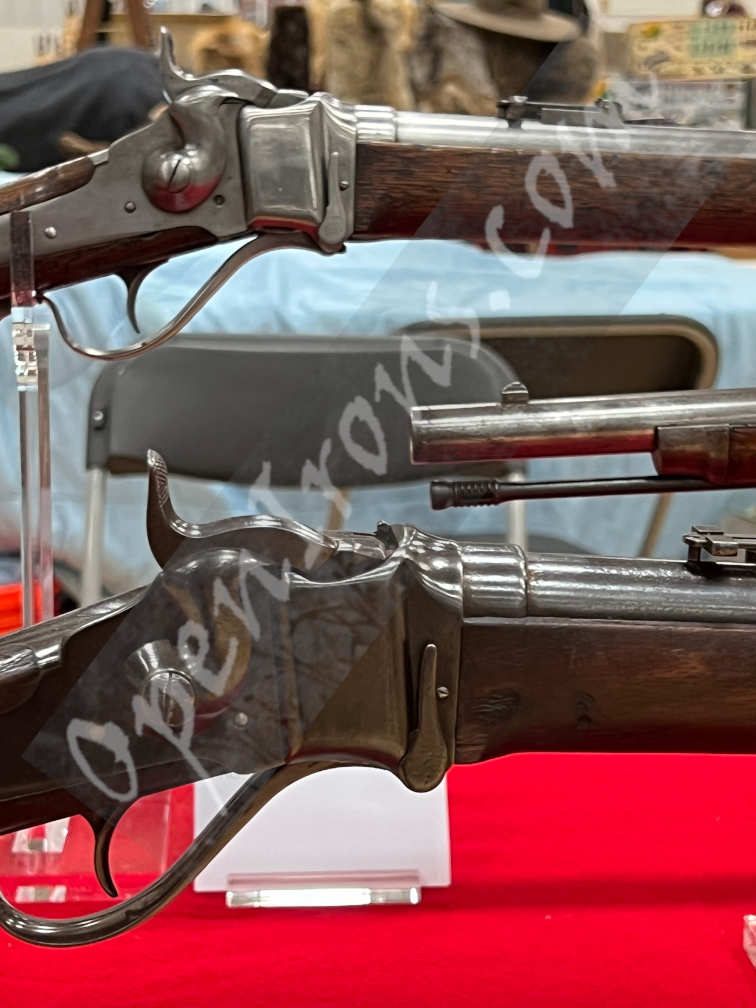
This Spring I was able to get a display table together for our local gun show in April. I was proud of it, sure, because it takes some work to pull these off well. It’s really rewarding to see your ideas manifest in the physical world – you envision what this could look like, build it, make adjustments, and then one day there it is. I’m by no means terribly experienced at doing gun show displays, so as with all my writing on this site, it’s really a mechanism for me to organize my thoughts and I figure other people may be interested.
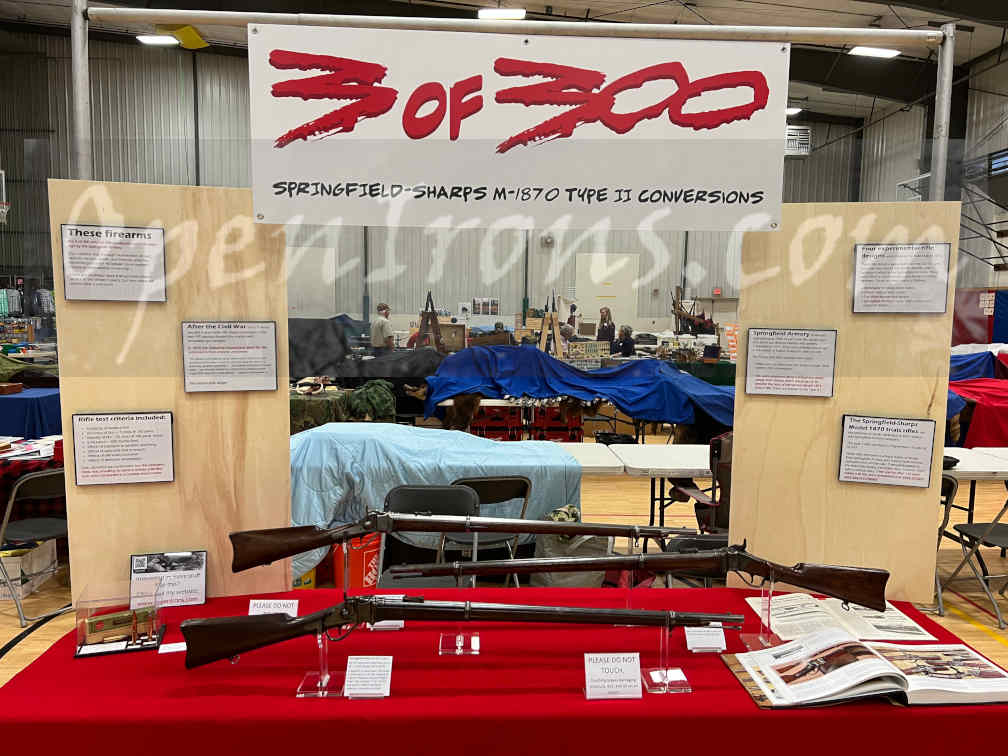
What Was On Display?
For this show I was displaying three Springfield-Sharps Type 2 trials rifles. Only 300 of these rifles were made, and who knows how many have survived since their 1870-71 manufacture date. I’ve been able to identify about 40 known serial numbers worldwide in my research. My research is not conclusive, but how much higher the number may be is anyone’s guess, but doubtfully not too much higher. Anyway, to have three of them in one spot is pretty neat, which is what gave birth to the idea for the table theme, “3 of 300”. Of course, I’m appreciative of the fact that this overstates the existent quantity, but it has a nice ring to it.
Theme and Title
Our local judging criteria require that each display have a name or title, and without that name, many points start falling off (is the title relevant to the display, etc.). So for mine it was “3 of 300”, and I had already mentally associated the “300” with the movie of the same name about Thermopylae and its iconic font. In my head I imagined an attention-getting banner using that same font.
Owing to my own inexperience, I could have sworn our display tables were only 6 feet wide, but it turns out they’re 8 feet. Had I known this, I would have made a bigger banner, but am very glad I didn’t.
Making the Banner
I ended up designing the banner in Krita and getting the banner printed professionally. I live in a relatively high-cost area, and the printing cost me about $125 if I remember correctly, printed on foam core and with grommets added. This was spendy for a one-time deal, but it came out looking awesome (I think).
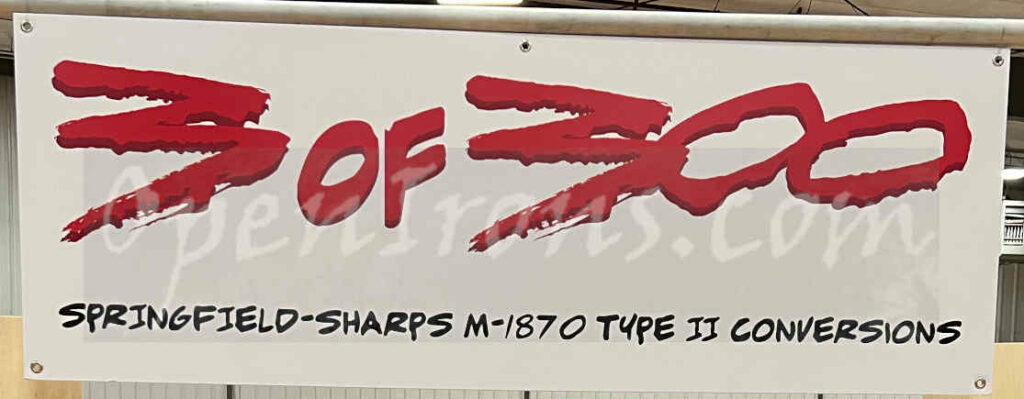
I had imagined buying foam core myself from Michaels and then using my wife’s Cricut to print off the adhesive vinyl words. As I thought more about this, it would require me to use two colors of vinyl to get the drop shadow, and some laborious weeding of the finished product. Also, there would have been several versions and tons of wasted vinyl before the end product was satisfactory. Michaels only sold smaller-sized foam core, so I’d have to carefully join the pieces together without it looking all raggedy. In total, I was doubtful that the material input would have been cheaper than the printing cost, and time-wise it certainly would have been an aggravating undertaking. From a skill-stacking perspective, becoming an expert at making a homemade foam core vinyl signs is not in my interest and certainly shouldn’t discourage my gun show effort. $100+ was an easy call when I thought about it this way.
What about the design work? The 300 logo isn’t that hard to find – the trick is adding all the other stuff in a way that looks like it matches. For this, I used Krita, an awesome open source vector graphics editor. So I cut out the number “3” from the logo, along with its drop shadow, and then found a royalty-free font that sorta matched in the sense of it representing an overloaded brush stroke to do all the other lettering.
Getting it printed was easy. The guys at the local print shop I chose were unexpectedly “gun-friendly” and engaged in some good conversation when I came to pick up the final product. I invited them to the show and felt really good about using them again in the future.
Framing the Table
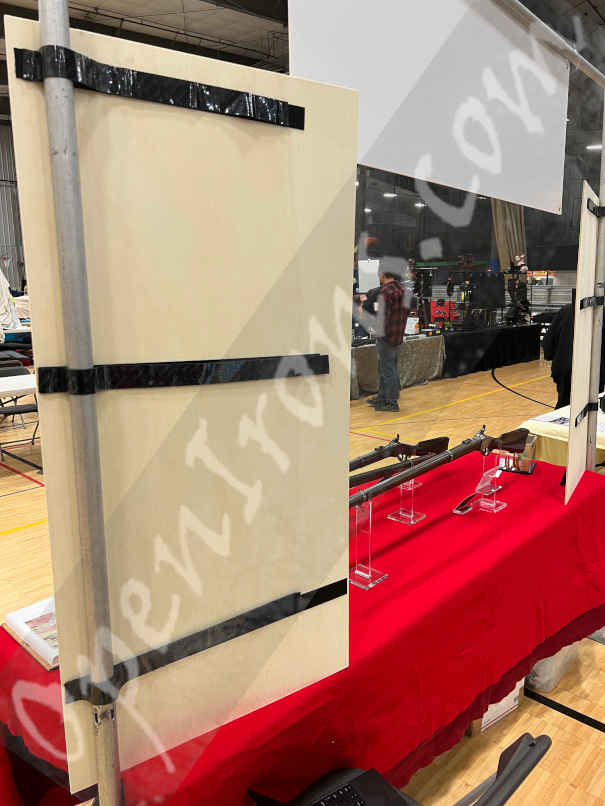
How do you suspend a banner over a table? One option I had seriously considered was buying the EZ Frame from ezframecompany.com. This thing costs around $180 and the cost could be spread over multiple shows, I guess. However, my wife, ever the wellspring of good ideas, told me to just rent “pipe and drape” (minus the drapery) from a local event rentals company. This ended up costing me about $15 for four days. Slam dunk.
I tied the banner to the top cross piece using fishing line from the garage and used a roll of industrial strength velcro (also from the garage) to affix the side boards. I used this velcro to attach the plastic picture frames from Michaels to the front of the boards as well. The side boards themselves were just off-the-shelf pieces from Home Depot.
These metal vertical pipes obviously take up an extra few inches on either side of your table, but for our shows this is okay. If your show organizers have a problem with this, the EZ Frame solution is probably the best alternative out there since it just affixes to the table itself with no extra room required. Make sure your table core can support the brackets though – with plastic tables these days you may need to augment with blocking.
Displaying the Guns
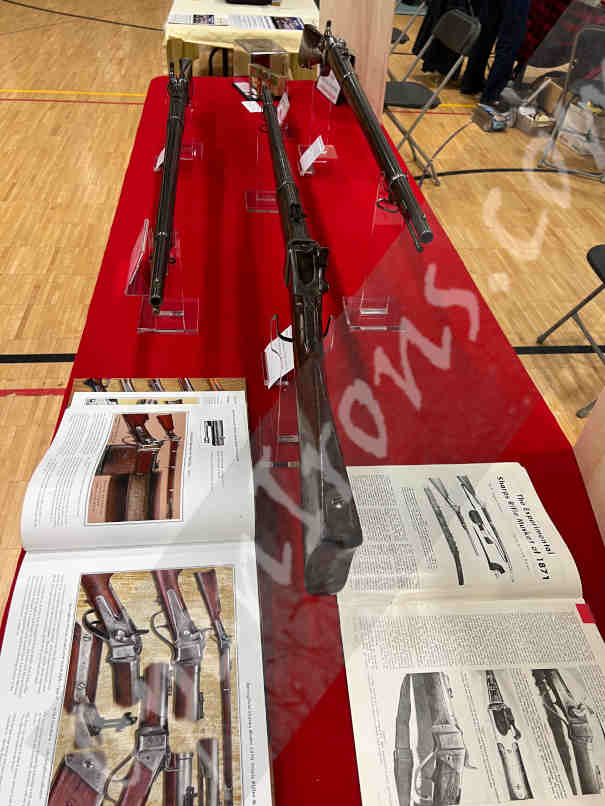
I used acrylic gun stands purchased from Art Display Essentials. These are impressively high quality stands and they better be for the price. For my guns, I had to use the wide 2.25″ stands for the receivers and the normal width (1.375″) stands for the fore ends. I paired the tallest size with the next taller size, so a 10″ for the fore ends and an 8″ stand for the receiver. This displayed the gun on the level. Art Display Essentials will also sell you some adhesive-backed felt that you can cut and apply to these stands, which helps protect the pieces being displayed.
I also bought a few acrylic informational stands to display the individual item information and my “Please Do Not Touch” signs. In consideration of table judging at our shows, it’s important that each piece be labeled, describing what the item is and how it relates to the overall theme of the display. Additional provenance information is good if it makes sense. Again, the items from Art Display Essentials are really high quality, and it shows when next to plastic junk. At the last minute I decided I wanted to set out a vintage box of 50-70 Gov. cartridges along with sample rounds of 45-70, 30-06, 308, and 223. I figured this would provide context for understanding how the chambering of the infantry service rifle had changed over the last 150 years. However, I didn’t want this stuff rolling loose on the table or walking off. I bought a display case from Michaels, I think meant for a football or something. Gosh it was junk in comparison – a plastic lid with high glare on a plastic base. As a collector, having quality stands to display your “treasures” is a worthwhile long-term investment. That’s not to say you need to spend money on quality acrylic, just make sure whatever you use looks good. Prior to this show I just used stained wood blocks with green felt. That can look just as good in many contexts.
Lessons Learned
People don’t read. It’s disappointing but true. My informational signs were largely worthless. I would watch people in many cases glance at the short, framed paragraphs, and turn away without reading a bit of it. Still others would stare at the signs for five or ten seconds, then turn and ask me a question that was literally answered on the sign they were just staring at. And this is NOT a generational thing – the one guy I saw diligently read and absorb each sign was in his twenties, so that was encouraging. What was extra discouraging was that my signs were radically scaled back from what I had intended to put up. My wife (again with the valuable insight) told me nobody would read more than a few sentences at a time and pushed me to ruthlessly cut text. I’m glad I did, but it was still for naught. I’m not sure how I’ll address this with my next display. More pictures, less prose, I s’pose.
Remembering the Mission
In all, I have three goals at a gun show display:
- Provide interesting content for fellow collectors to review and discuss.
- Generate interest in gun collecting amongst the public.
- Help raise the bar for gun show display quality.
So I think this table largely met my expectations and taught me a few things as well. I’m already planning the next table.
Well, that’s it for this post, hopefully you enjoyed it and I leave you with this cool portrait of the guns themselves, all walnut, steel and open irons.
